A Little Luck—and a Bit of Post-production: How to “Save” an Image!
By
Stephen A. Dantzig, Psy.D.
Joan and I finally grabbed the camera and headed off to Haleiwa on the North Shore of O’ahu a few months ago. It was an impromptu ride, so I did not have any strobes to create good light from a bad lighting situation. We had to find the shade of a tree to avoid the ghastly “high-noon” shadows. However, I knew from all my years photographing people on Hawai’ian beaches that there would be a terrible mismatch from the amount of light illuminating Joan’s face and that showing the background.
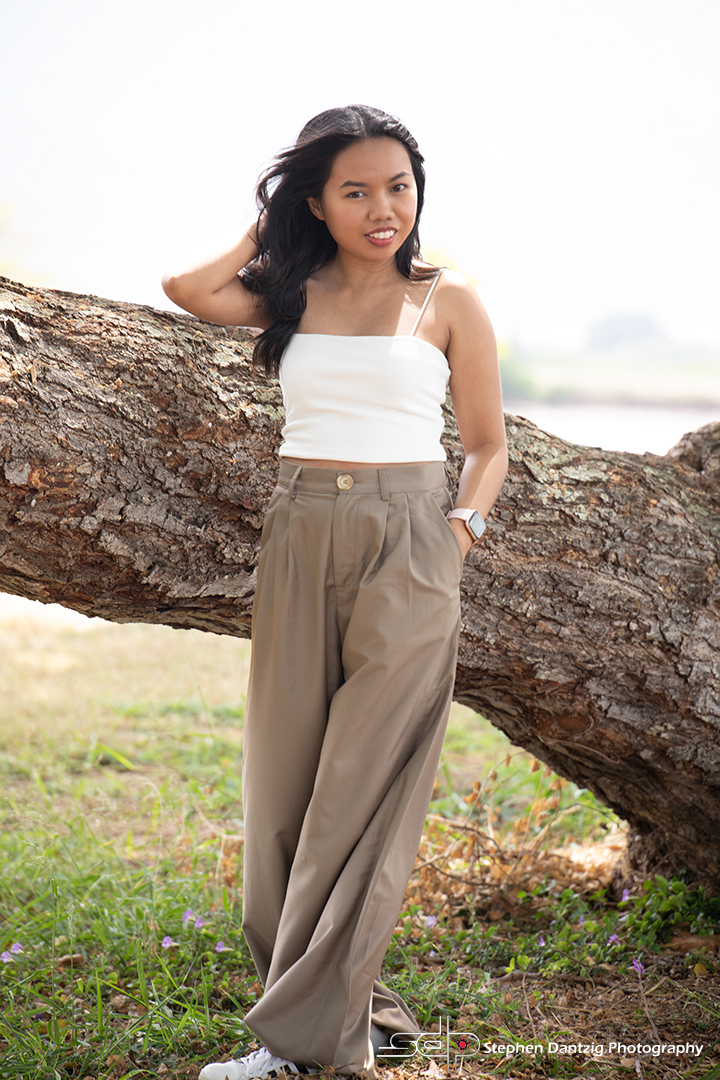
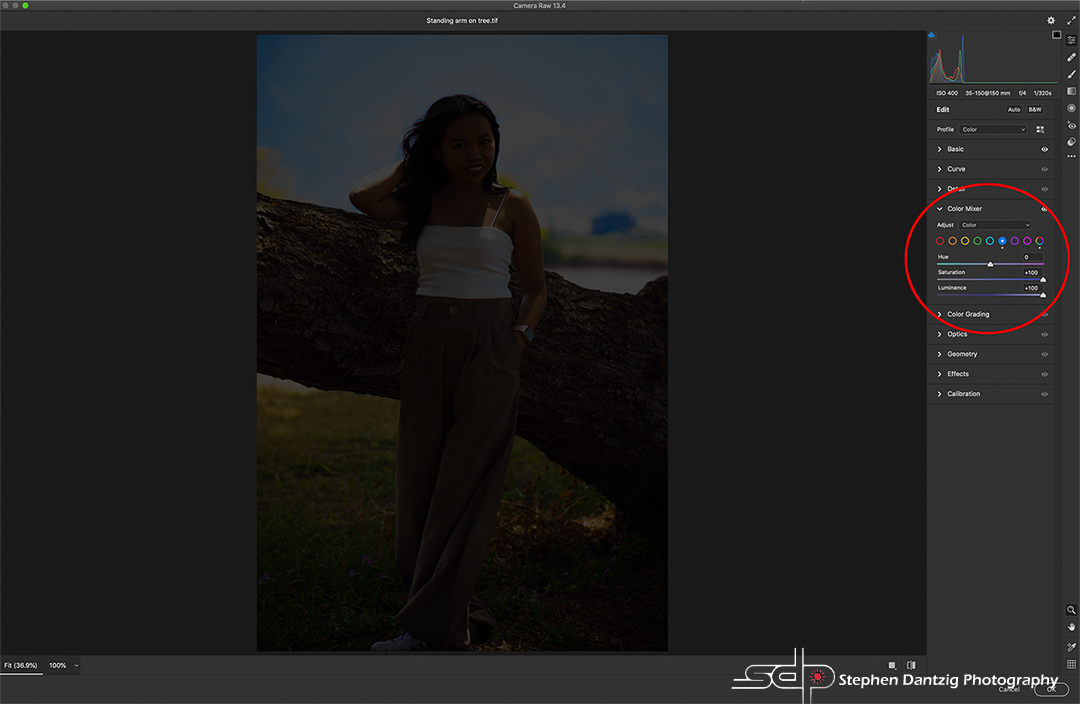
Sure enough, here we see what happens when there is a 3 to 4 stop difference in light values. Joan looks beautiful, but she could be standing in front of a white backdrop! Here is where a bit of luck and understanding your postproduction tools come in to play. Luck is involved because there needs to be SOME detail to “pull out” in post-production in that whitewash! I shot the image in the RAW format (always!) to increase the odds that the camera would collect some usable data. In fact, I got very lucky because there was data in the best shot of the day!
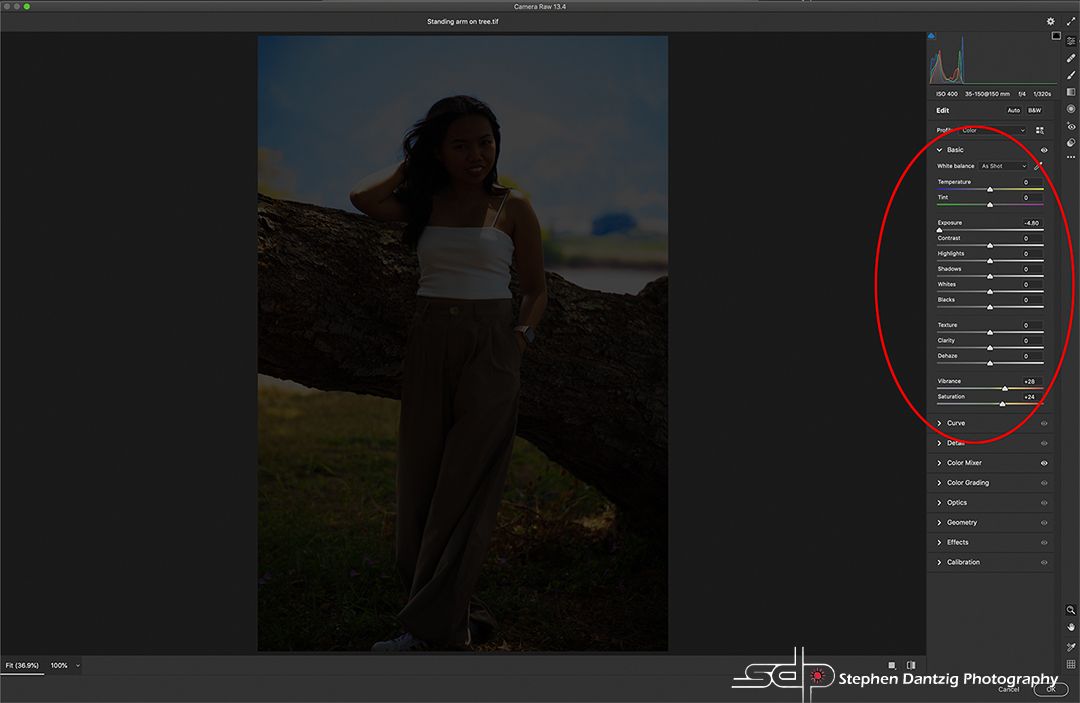
I could have edited the image in Lightroom (LR) but I knew I would need to work with a layer mask and I still prefer to use masks in Photoshop. I made a duplicate layer and applied the same settings that I would use in LR to a Camera Raw Filter (CRF). The first step was to go in to Basics section and move the exposure slider as far to the underexposed side as I could. I then moved the saturation and vibrance sliders to enhance the colors in the now visible background.
I then went into the Color Mixing section of the CRF and bump up the saturation and vibrance in the blue channel. (One note: You cannot go back in and edit the changes made in the Camera Raw Filter once you “commit” those changes and that is the major drawback to using this filter as opposed to LR).
I chose a “reveal all” layer mask so the image above remained untouched. The reveal all mask is white, so everything on the layer shows through.
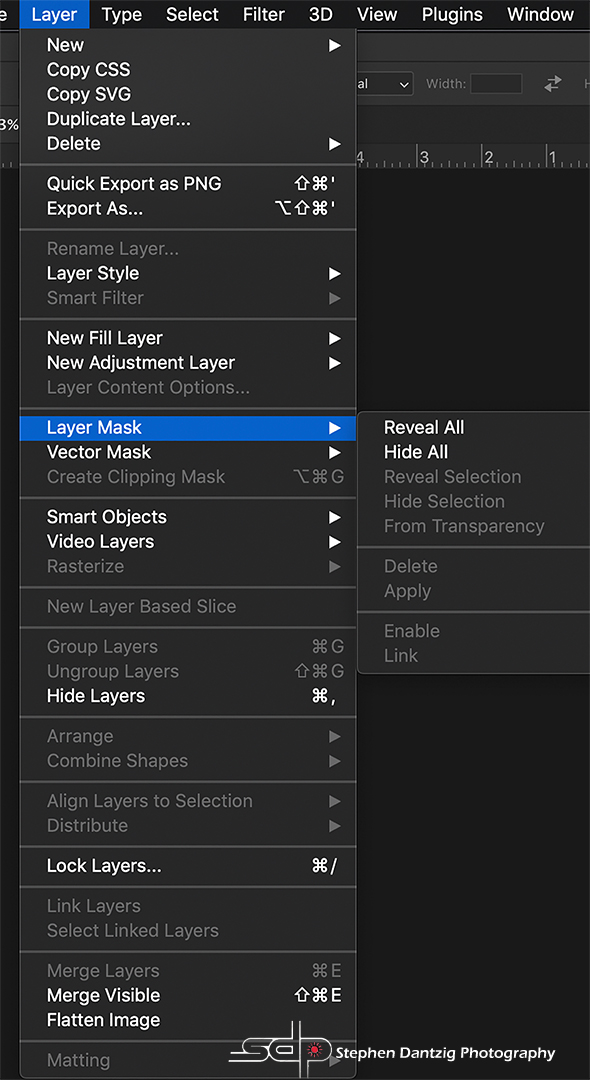
You will see the white mask with a symbol showing that it is “attached” to the image portion of the layer if you look at the layer in the layers palette (the palettes are normally located on the right side of your Photoshop screen. Find “Layers” in the “Window” drop-down menu at the top of the screen if you do not see a layers palette). The icon (either the image or the mask) with the box around it is “active” and can be edited. Make sure that the white mask is active and choose the black paint at the bottom of your “tool kit” (usually on the left of your screen). Choose the paintbrush tool and “paint” black (to “hide”) what you don’t want to see (in this case the now way too dark image of Joan). Change the brush size to fit what you need. You might notice that the bottom of Joan’s pants are darker than the top. I did this to help create the illusion of light falling off from a strobe. You do this–or alter the amount of “paint”–applied to a section of the mask by changing the opacity of the brush tool. The opacity slider is located at the top of the brush tool “window.” The parts of the Photoshop interface mentioned are circled below.
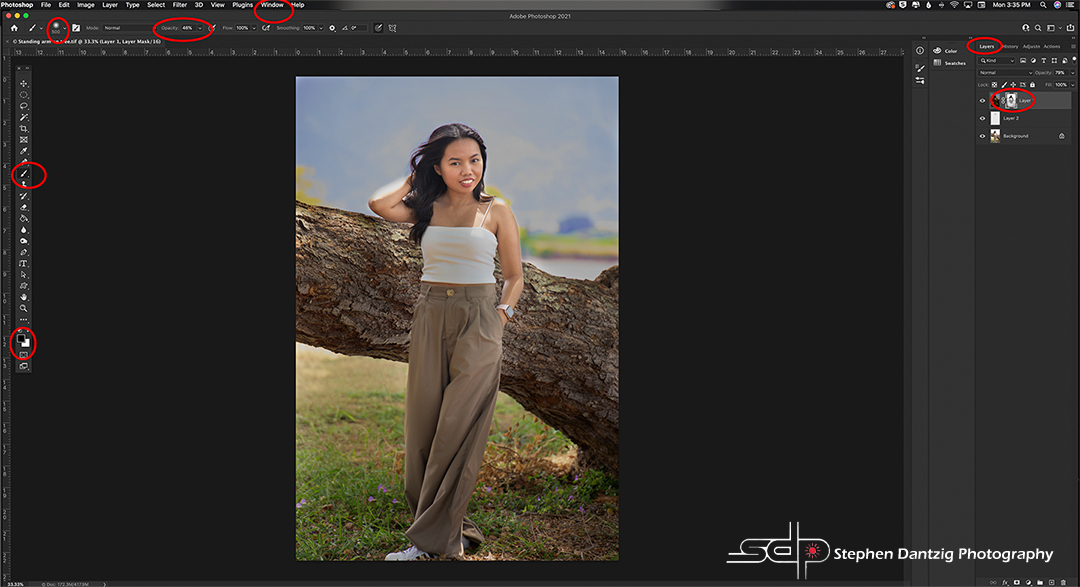
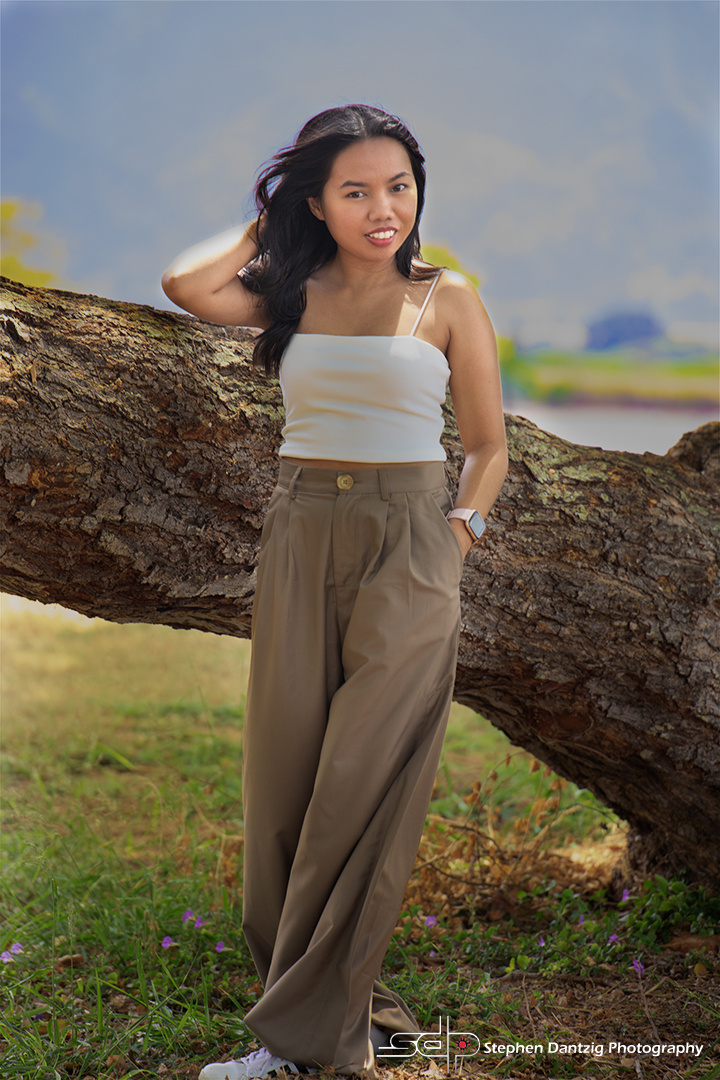
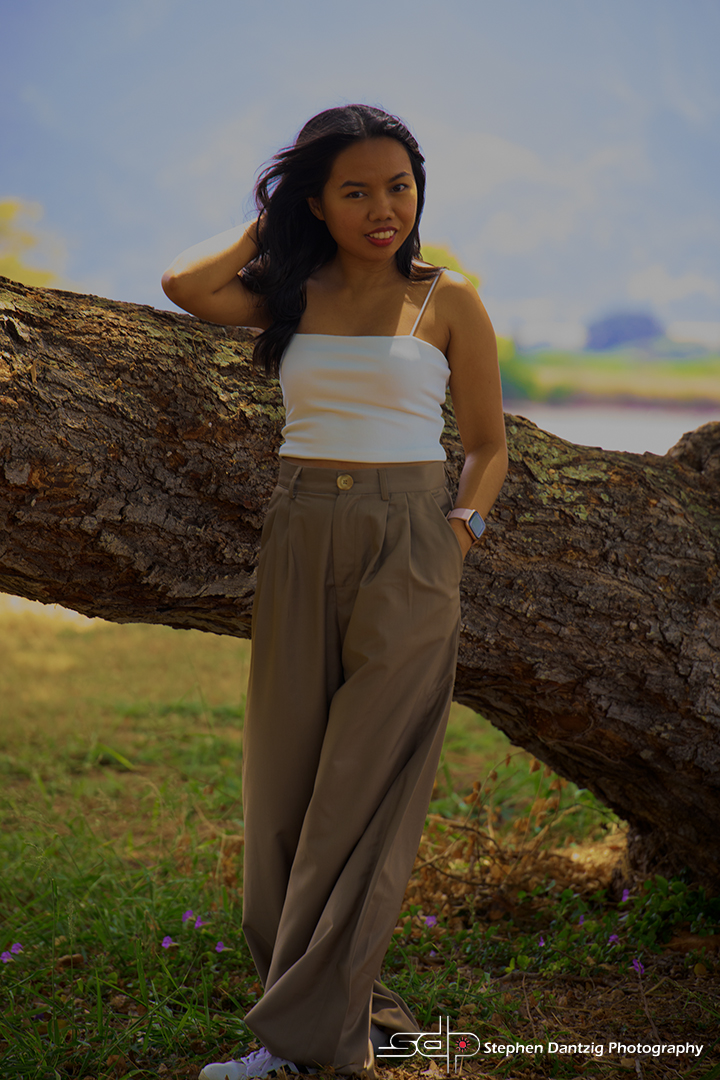
The image might not be perfect, but it works! I love how the backlighting frames Joan’s arms and shoulders while creating a beautiful hair light. This is one of my “new” favorite images of Joan. Not bad for a “grab” shot in the park!